For Use on Windows Computers

step 1

Download and Save

Click the Download Now button and save it to your local machine. Browse to the .appinstaller file you just downloaded and double click it to launch the installer.

step 2

Install

Make sure to leave the “Launch when ready” option ticked so the application automatically starts.

Click the Install Button.

The application will launch and finish updating itself to that latest version. Just be patient and leave it running while it’s updating.


step 3

Register

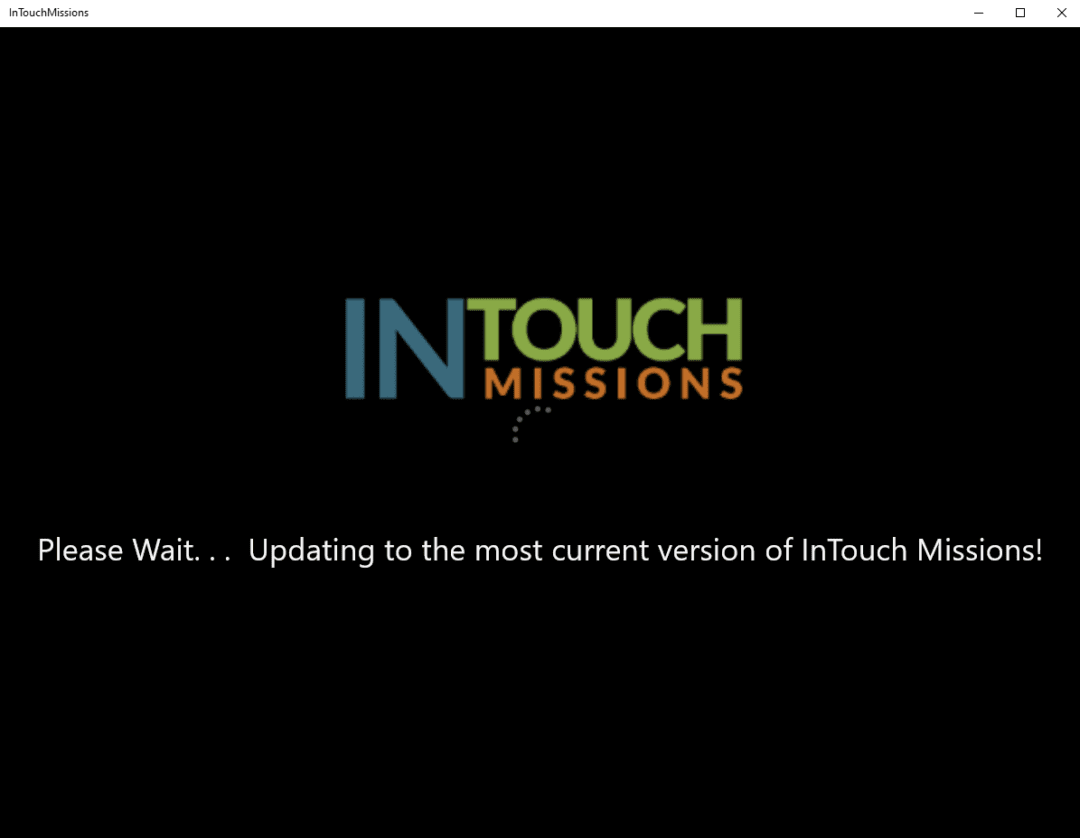
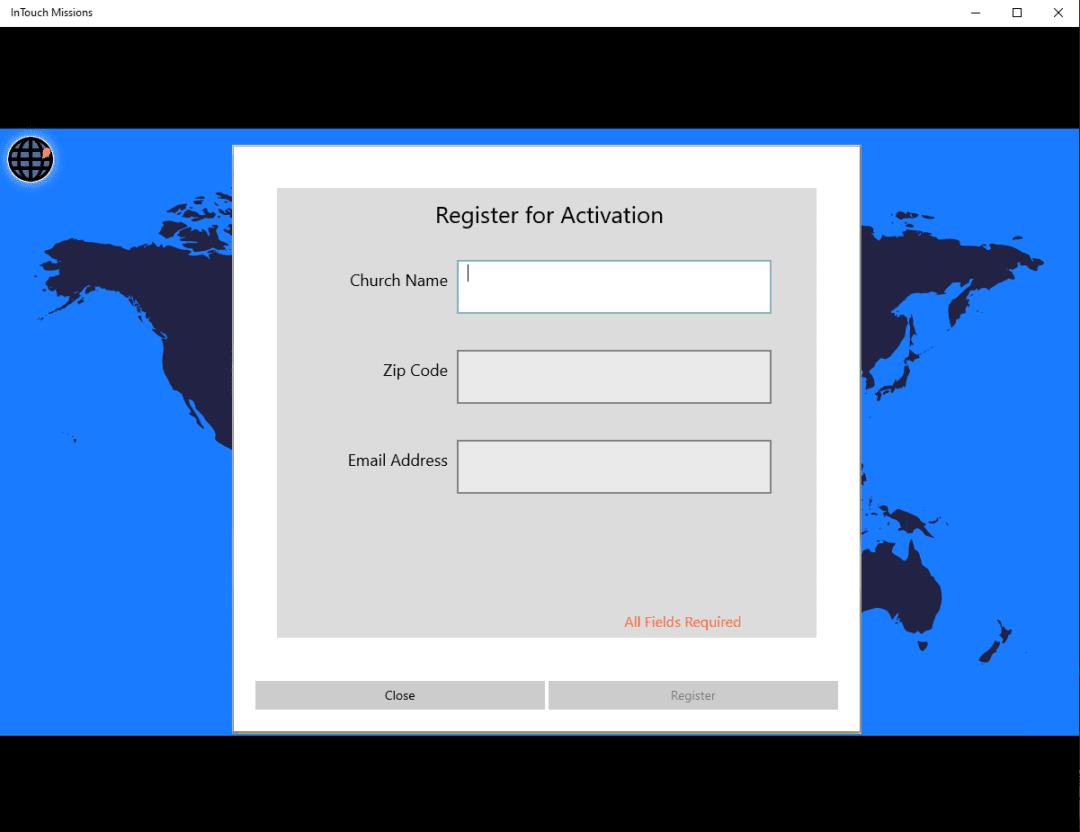
Once the application is fully updated, it will relaunch and prompt you to register. You’ll register the software by entering your Church name, zip code, and email.

This will grant you a limited license within the application in order to test it out and access all the features.

You can enter in new missionaries, change settings, upload files or documents, and much more.

step 4

Learn

With a library of self-help videos, you will discover how powerful the missions software is. Please feel free to browse the videos to learn all about the software & functionality.

Stay in touch with Digital Missions Display